Dolby Atmos Setup Explained
As an Amazon Associate I earn from qualifying purchases.
Dolby Atmos is often described as three-dimensional sound, but the technology behind that phrase is worth understanding before you start buying speakers. Traditional surround formats assign sound to fixed channels: this effect goes to the left surround, that one to the center. Atmos instead treats sounds as objects with positions in a three-dimensional space, and your receiver renders those objects to whatever speakers you have, including a new dimension overhead. The result is that a helicopter can pass above you or rain can fall from the ceiling, cues that flat surround simply cannot place.
The defining feature of Atmos is the height layer. Where a 5.1 or 7.1 system spreads sound around you horizontally, Atmos adds speakers that put sound above you, described with a third number, as in 5.1.2 or 7.1.4. That last figure counts the height speakers: two or four overhead channels are the most common in home systems. Those height channels are what create the sense of a ceiling of sound, and everything else about an Atmos setup is about getting believable sound to come from up there.
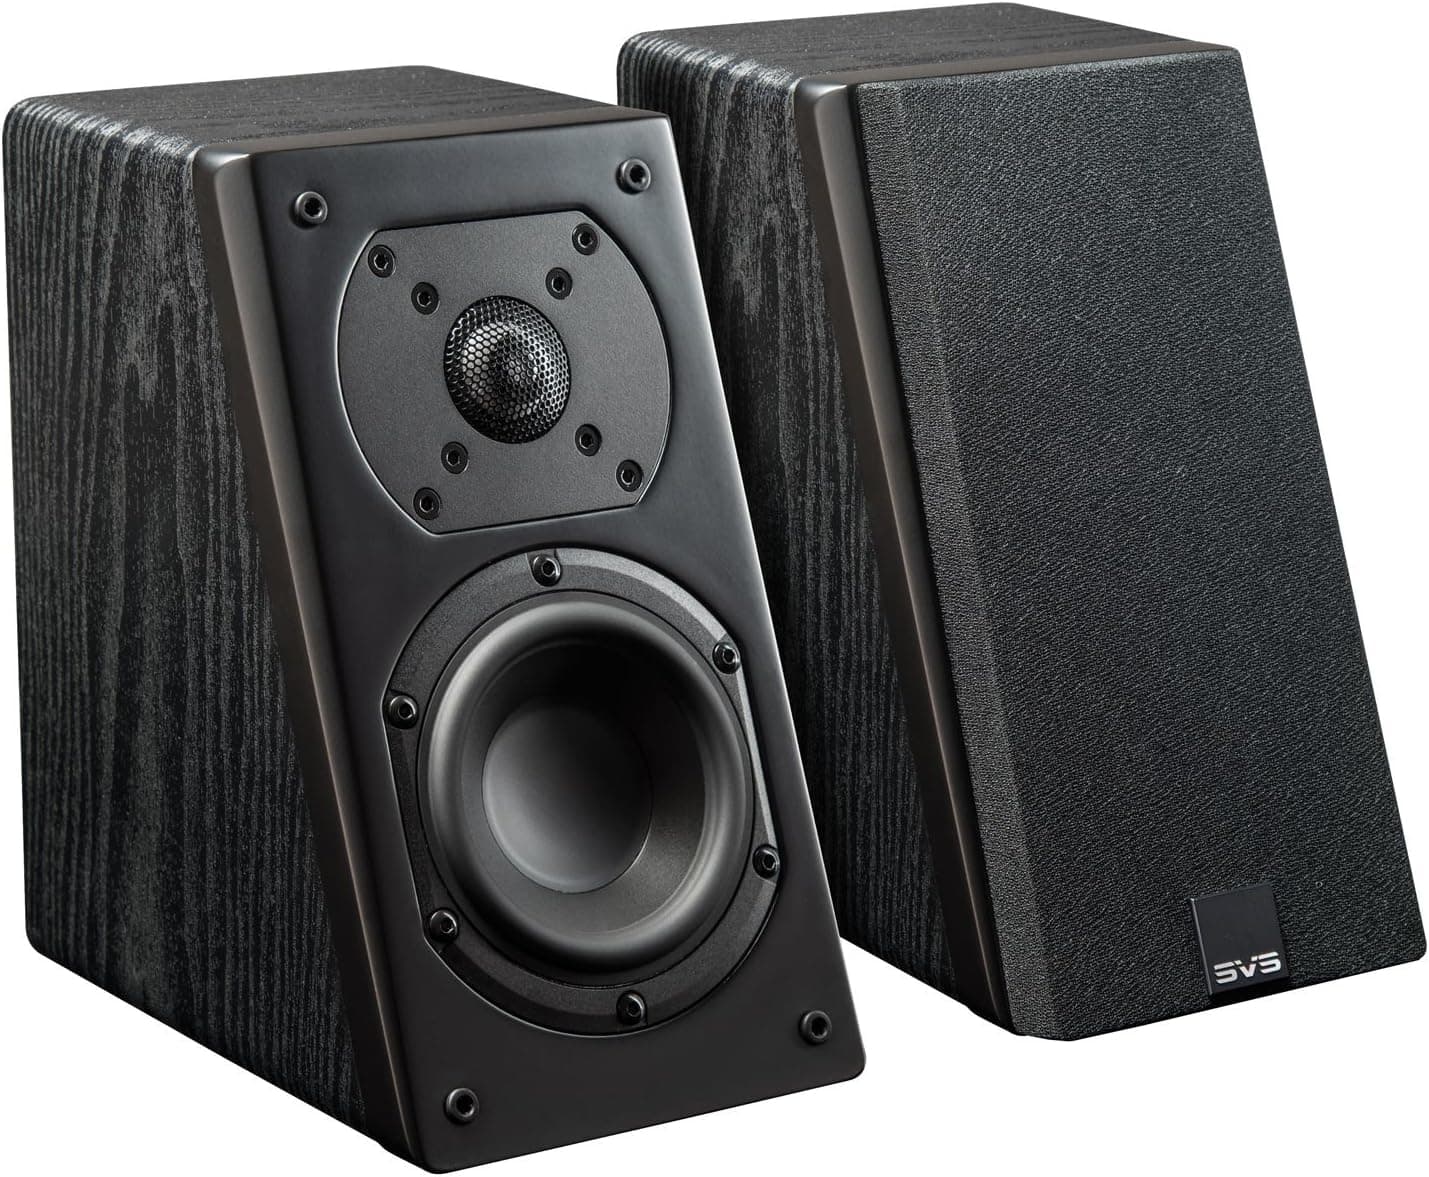
There are three main ways to produce height. The gold standard is in-ceiling speakers, which fire straight down from the ceiling and localize overhead effects most precisely. If cutting into the ceiling is not possible, upward-firing modules sit on top of your front and surround speakers and bounce sound off the ceiling to simulate height; they work best with a flat, reflective ceiling between roughly eight and twelve feet high, and they lose effect with vaulted or acoustically treated ceilings. On-wall height speakers mounted high on the front wall are a third compromise that trades some overhead precision for easier installation.
Placement of the height speakers follows Dolby's guidelines closely. For a system with two height speakers, position them slightly in front of and above the main seat, roughly aligned with the left and right front speakers and angled down toward the listeners. For four height speakers, add a rear pair behind the seats, creating front and back height pairs that let overhead sounds travel from front to back. The overhead speakers should be spread apart to a similar width as your bed of ear-level speakers, not clustered in a tight line down the center.
Atmos does not replace your existing surround layout; it builds on it. You still need a solid base of ear-level speakers: the three fronts, the surrounds, and a subwoofer, all placed by the usual rules. Height channels enhance a good foundation but cannot rescue a weak one, so get your 5.1 or 7.1 base right first, then add height. Your receiver or processor must specifically support Atmos and have enough amplifier channels or preamp outputs to drive the height speakers you plan to add.
Calibration matters even more with Atmos because the illusion of overhead sound depends on precise timing and level. Run your receiver's auto-calibration with the microphone at ear height in the main seat so it measures the distance to every speaker, including the height channels, and time-aligns them. Then verify each height speaker plays a test tone from the correct position overhead. If an upward-firing setup sounds like the effect is coming from the wall rather than the ceiling, check that nothing is blocking the upward path and that the ceiling is reflective enough.
Finally, feed the system real Atmos content to hear what it can do. Streaming services and 4K Blu-rays label Atmos tracks, and your receiver's front panel should confirm it is decoding Atmos rather than falling back to standard surround. Start with well-known demo scenes that use overhead effects heavily, then trust that once the illusion holds on those, it will enrich everyday viewing too. Set up thoughtfully and calibrated carefully, Atmos turns a wall of sound into a dome that genuinely surrounds you from every direction, including above.