How to Hide AV Cables for a Clean Home Theater
As an Amazon Associate I earn from qualifying purchases.
A tangle of cables snaking across the floor and dangling behind the screen can undo an otherwise beautiful home theater. Beyond looks, loose cabling is a trip hazard, collects dust, and makes future changes a nightmare of untangling. Hiding cables well is partly aesthetics and partly organization: the cleanest installs are also the easiest to service later. The right approach depends on whether you can open up walls, how permanent your setup is, and how much you are willing to spend.
The cleanest solution is running cables inside the wall, and for a wall-mounted display this is worth the effort. Low-voltage cabling like HDMI, speaker wire, and network cable can generally run inside a wall using a pair of recessed brush plates or low-voltage brackets, one behind the screen and one near your equipment. Crucially, standard HDMI and power cords are not always rated for in-wall use, so check for cables marked CL2 or CL3 for signal and never run a standard power cord through the wall. Instead, install a proper in-wall power relocation kit that provides a safe outlet behind the display.
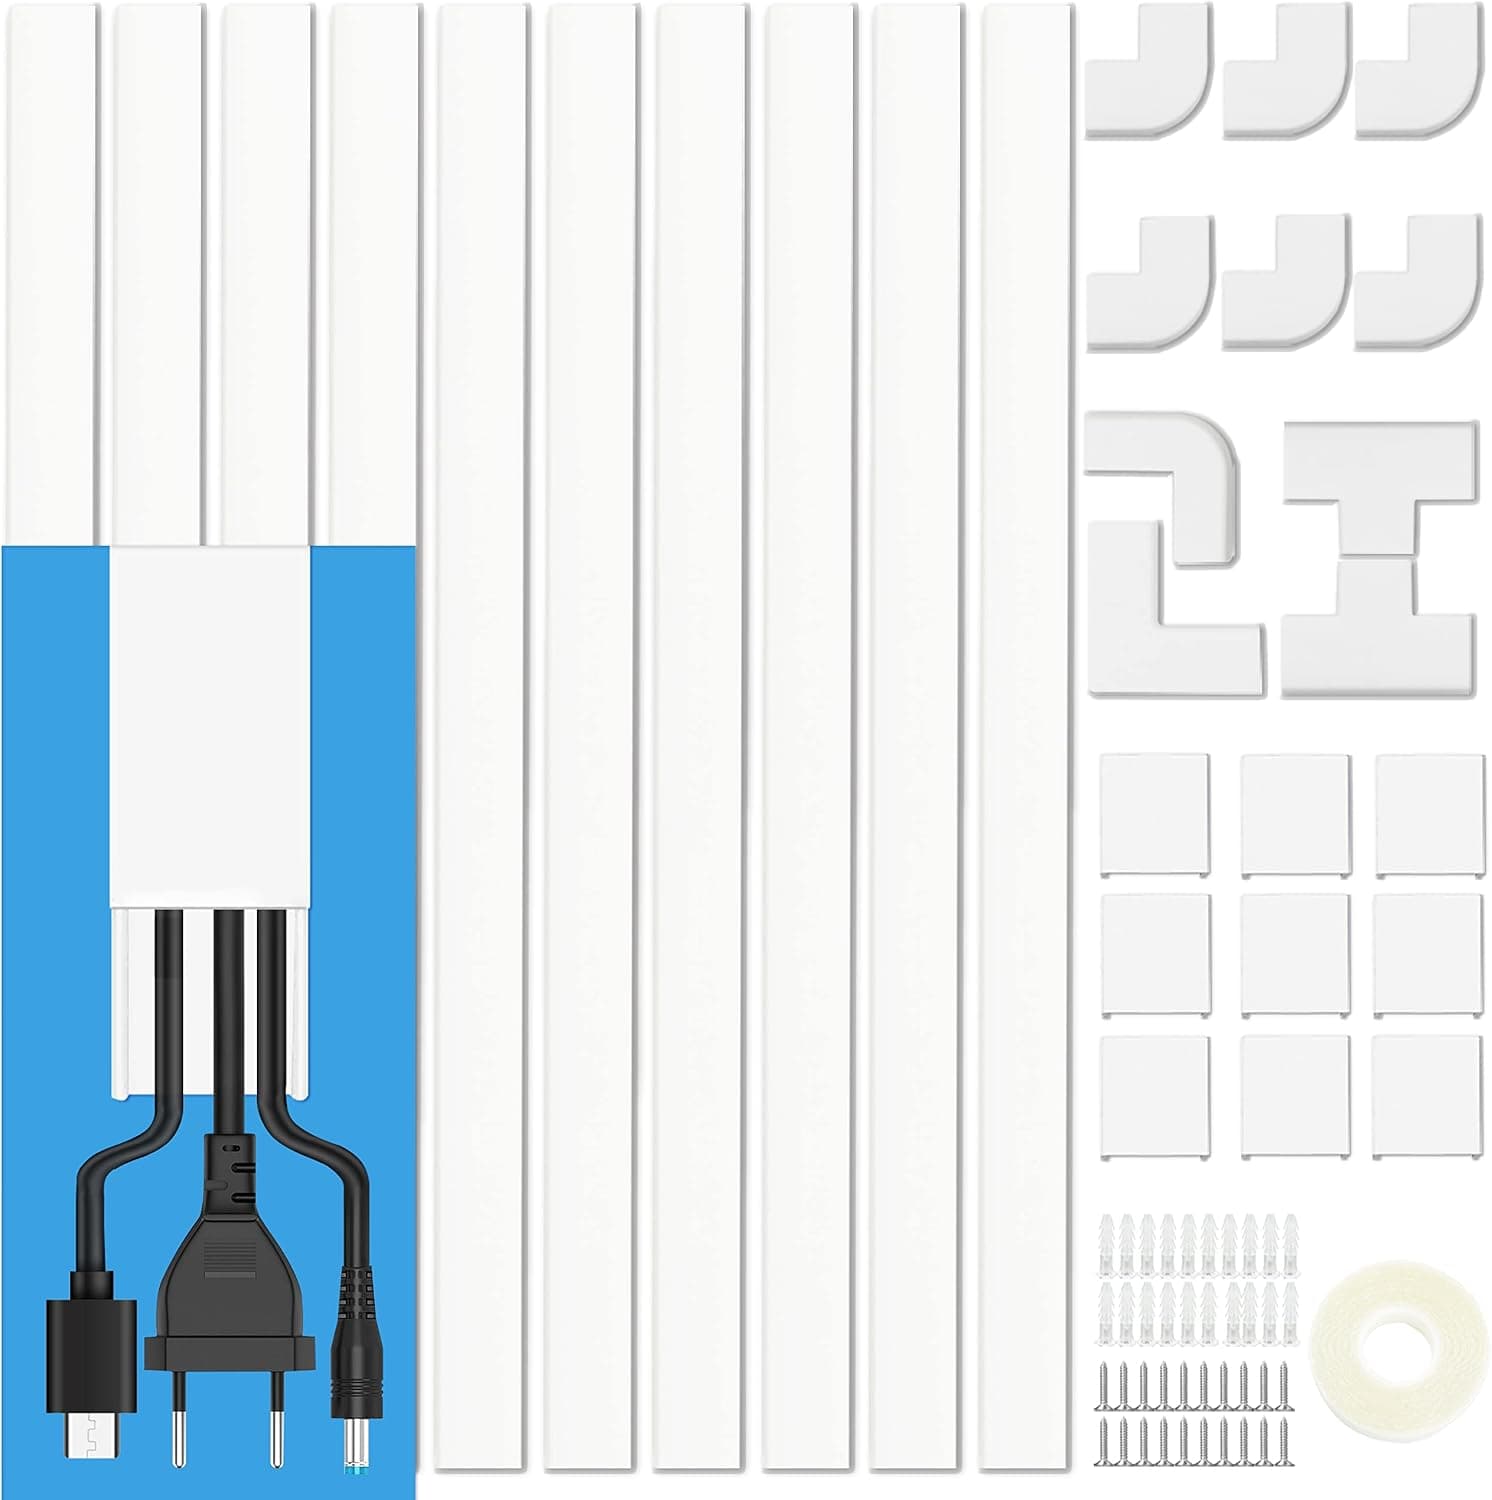
If opening walls is not an option, because you rent or want to avoid the mess, surface raceways are the next best thing. A raceway is a paintable plastic or metal channel that mounts to the wall and hides cables inside; painted to match, it nearly disappears. Raceways are ideal for the vertical run from a wall-mounted screen down to a media console, and larger versions can carry several cables at once. They install with screws or strong adhesive and can be cut to length, making them a flexible middle ground between bare cords and full in-wall work.
Around the equipment rack or media console, the goal shifts from hiding to taming. Bundle related cables with reusable hook-and-loop straps rather than zip ties, which are hard to adjust when you swap a component. Label both ends of every cable with tape flags or clip-on markers so you can trace a connection without pulling the whole rack apart. Leave a little slack in a neat service loop behind each device; cables pulled drum-tight strain connectors and leave no room to move gear for cleaning or upgrades.
For speaker wire in particular, the route matters as much as the concealment. Flat, adhesive-backed speaker wire can run under paint or wallpaper for surround and height channels, disappearing entirely on the wall. Along the floor, tuck wire under the edge of carpet with a putty knife, or run it inside baseboard cord channels where carpet is not present. Avoid running speaker wire alongside power cables for long parallel stretches, since that can induce hum; cross them at right angles when they must meet.
Power deserves special attention because it is both a safety and a clutter issue. Consolidate your components onto a single surge protector or power conditioner mounted to the back of the rack, so only one cord leaves the cabinet. This reduces the cable count dramatically and protects your gear from spikes. Never overload a raceway or bundle with a mix of high-current power and delicate signal cables crammed together, and keep power bricks accessible rather than buried, since they generate heat.
Whatever methods you combine, plan the whole path before you commit. Sketch where each device sits, measure the runs, and buy cables slightly longer than you think you need so you are not stretching a cord across a doorway because you came up a foot short. Build in a little room to grow, since home theaters rarely stay the same for long. A setup that looks clean and stays easy to reach behind is one you will actually enjoy maintaining.