Acoustic Treatment Basics for a Media Room
As an Amazon Associate I earn from qualifying purchases.
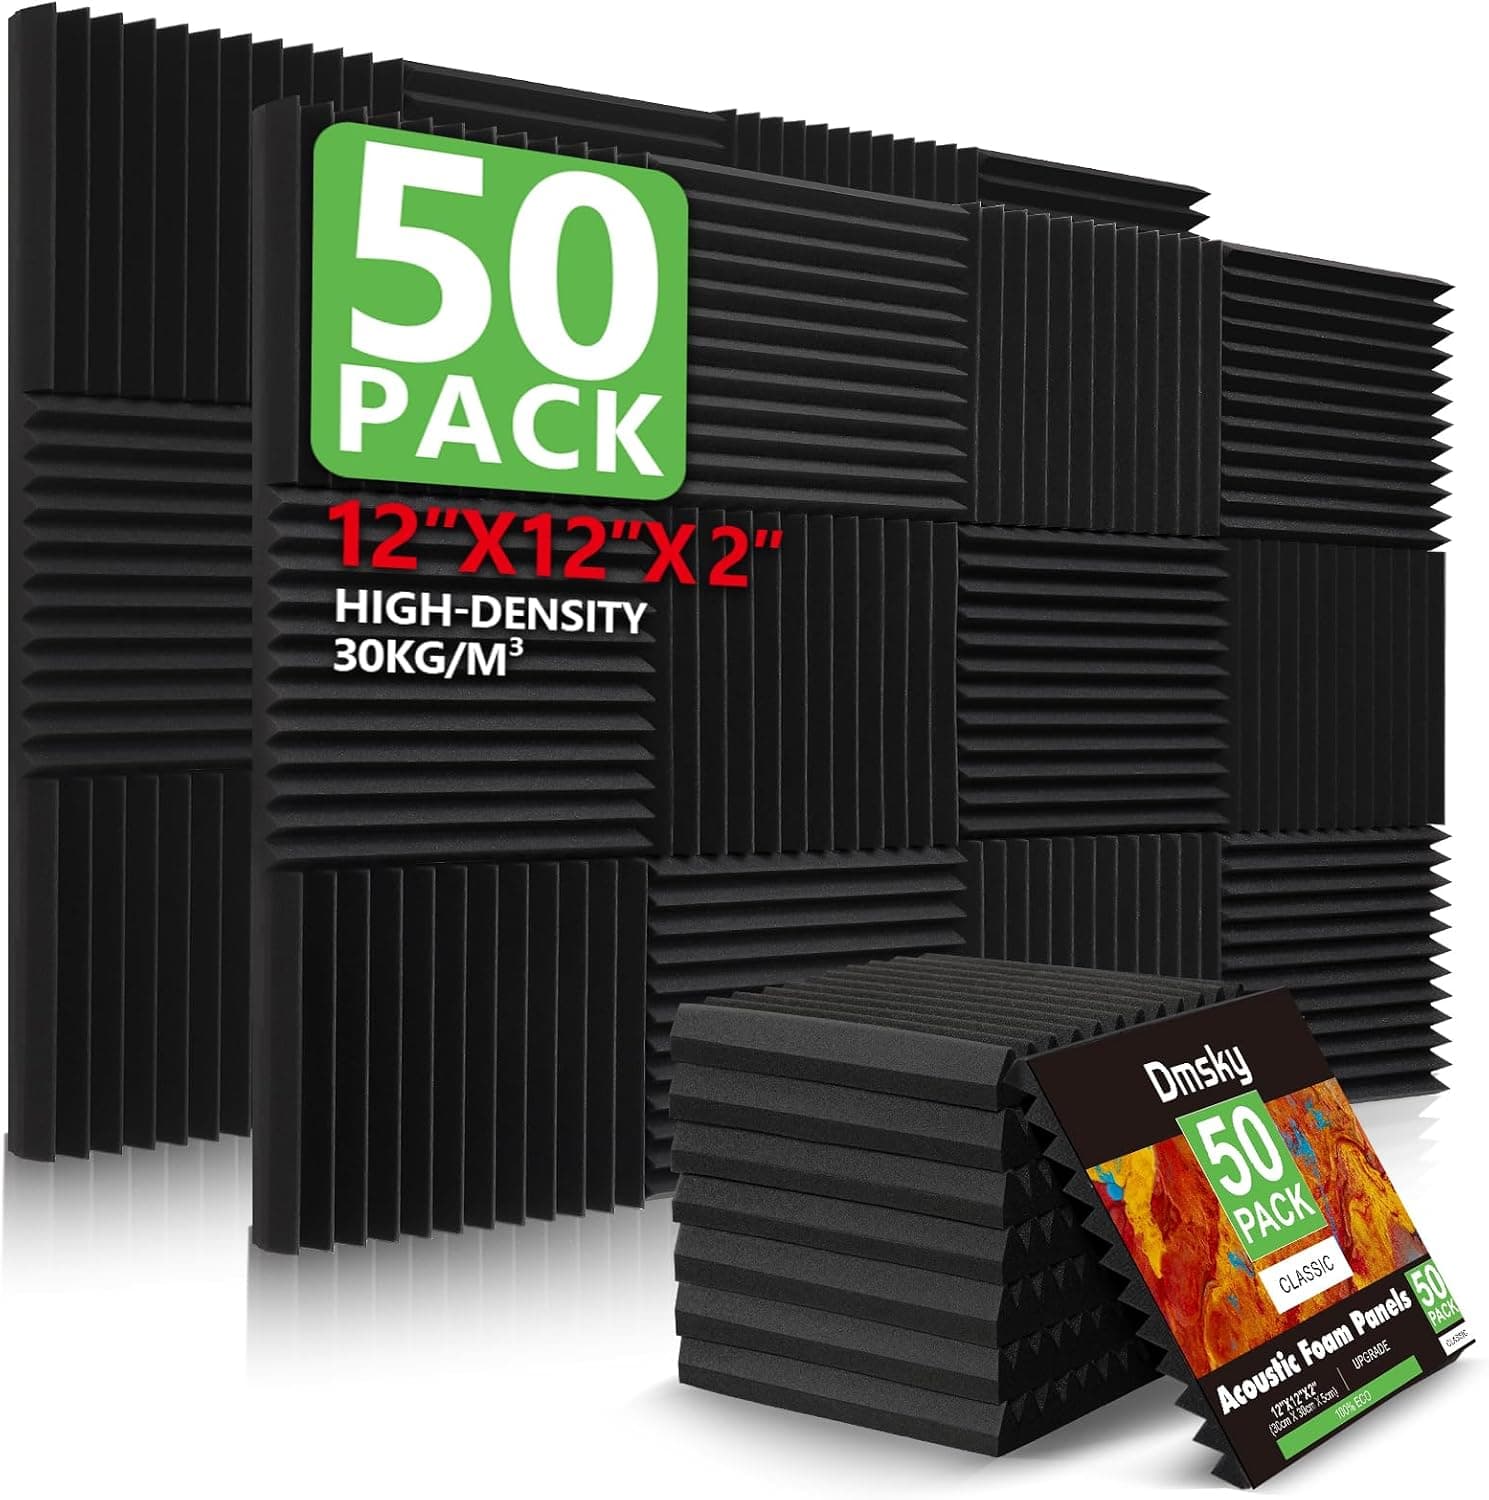
The room is the most overlooked component in any home theater. Speakers and a receiver reproduce sound, but the room shapes what you actually hear, adding reflections, boom, and smear that no amount of expensive electronics can undo. Acoustic treatment is the practice of controlling those reflections so the sound reaching your ears is closer to what the speakers produce. Done well, it makes dialogue clearer, tightens bass, and sharpens the surround image far more than a gear upgrade of similar cost.
Sound reaches you two ways: directly from the speaker and indirectly after bouncing off walls, floor, and ceiling. Those reflected copies arrive a few milliseconds late, and your ear blends them with the direct sound, blurring detail and confusing where effects are coming from. Hard, bare surfaces reflect strongly, which is why an empty room with tile or drywall sounds harsh and echoey. The goal of treatment is not to deaden the room completely but to tame the most damaging reflections while keeping enough liveliness that the space still feels natural.
The highest-impact treatment targets the first reflection points. These are the spots on the side walls, ceiling, and sometimes the floor where sound bounces once before reaching your seat. To find them, have someone slide a mirror along the side wall while you sit in the main seat; wherever you can see a speaker in the mirror is a first reflection point. Placing a few inches of absorption at those points, panels of mineral wool or rigid fiberglass wrapped in fabric, cleans up imaging dramatically and is the single best starting move.
Bass is a separate and harder problem. Low frequencies have long wavelengths that build up in corners and along room boundaries, creating modes where certain notes boom and others nearly vanish. Thin foam does nothing here; you need thick, dense bass traps, ideally straddling the vertical corners floor to ceiling where bass energy concentrates. Even two or four large corner traps noticeably tighten the low end, making kick drums and explosions hit with impact instead of muddy rumble that lingers too long.
Diffusion is the third tool, and it does the opposite of absorption. Rather than soaking sound up, a diffuser scatters it in many directions, breaking up strong reflections while preserving the room's sense of space and air. The back wall behind the listening seats is a good candidate for diffusion, especially in rooms that already have significant absorption and are starting to feel dead. Balancing absorption at the sides with diffusion at the rear keeps the room clear without making it feel like a padded cell.
You do not need to treat every square foot, and over-treating is a real mistake that leaves a room lifeless and fatiguing. A practical progression is to start with bass traps in the corners, add first reflection panels on the side walls and ceiling, then treat the front wall behind the speakers if dialogue still sounds thick. Furniture, thick curtains, a rug on a hard floor, and a well-stuffed couch all contribute real absorption, so a lived-in room needs less dedicated treatment than a bare one.
Before buying anything, measure. A free tool like Room EQ Wizard with an inexpensive measurement microphone shows your room's frequency response and decay time, revealing exactly which frequencies boom and how long reflections linger. Measuring before and after each change tells you what is working instead of leaving you guessing. Treat the room methodically, verify with measurements, and you will extract performance from your system that no cable or component swap could ever deliver.